ECS Fargate Container CI/CD Pipeline

The goal of this article is to introduce and explore the DevOps methodology for the deployment of microservices in the managed cluster. This article also focuses on maintaining rapid frequent delivery in the production.
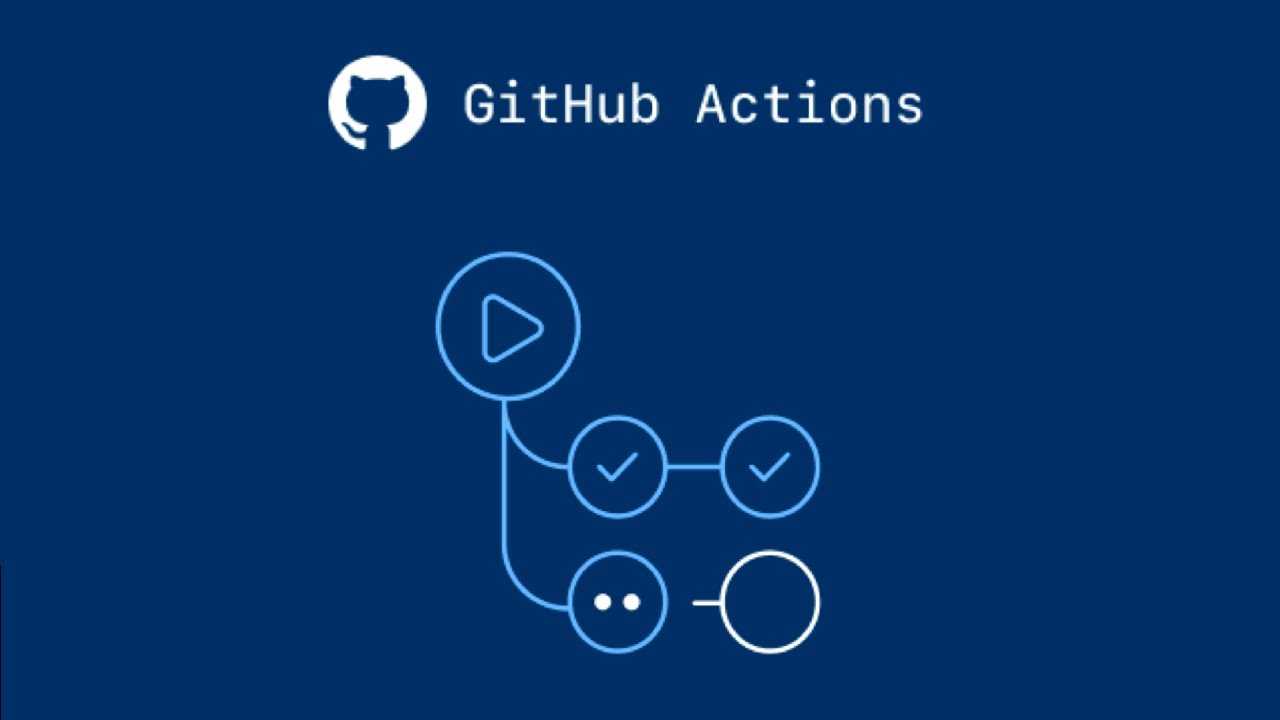
Introduction to GitHub Actions
GitHub Actions make it easy to automate all your software workflows. Github Actions let you build, test, and deploy your code right from GitHub. The easiest way is to think of Github Actions as their continuous integration system.

Apart From the mentioned, GitHub actions have many edges over any native vendor pipeline tools like:
- Self-hosted Workers
- Support for multiple branches
- Built-in Pipeline as Code
- Parallelism
- Distributed builds
Github WorkFlow
Workflows run in Linux, macOS, Windows, and containers on GitHub-hosted machines, called ’Runners’ GitHub Actions work by using configured workflows That contain actions and their relationships with each other.
Github Actions Keywords
- Action: Individual tasks that you combine as steps to create a job.
- Artifact: Artifacts are the files created when you build and test your code.
- Event: A specific activity that triggers a workflow run. (Push, Pull).
- Job: A set of steps that execute on the same runner.
- Runner: Any machine with the GitHub Actions runner application installed.
- Step: A step is an individual task that can run commands or actions.
- Workflow: A configurable automated process that you can set up in your repository to build, test, package, release, or deploy any project on GitHub.
Deployment Steps
Step 1 - Prepare The Application
- Dockerfile For The Image:
FROM kumar1996/stack:latest
WORKDIR /app
COPY app.py /app
COPY templates /app/templates
EXPOSE 5000
ENTRYPOINT ["python"]
CMD ["app.py"] NOTE: Here I am using My Base Image of flask hosted in the public Docker Hub Repository.
Step 2 - Infrastructure Deployment
- Elastic Container Service - Create an ECR repository to store your images.(I will be creating it with Terraform Github Action Workflow)
- Create an ECS Cluster - I will be using ECS Fargate Type Cluster.

- Create an ECS task definition -
a. Make Sure To save the Json Template In the Git Repository. b. Our GitHub Action Will refer to this Json file while Creating tasks. c. Our Github Action will also create revision accordingly. - We will need the URI of the ECR that will be created by the terraform template.
- The URI should look something like this: awsAccountID.dkr.ecr.aws-Region.amazonaws.com/RepositoryName
- Create a New role for ECS and Attach Policy to it with all the required permissions and note down the ARN of the same.
- The output JSON for the task definition should look something like this:
{
"family": "mycluster",
"executionRoleArn": arn:aws:iam::XXXXXXXXX:role/ecstask",
"networkMode": "awsvpc",
"containerDefinitions":
[
"name": "mycluster",
"image": ”XXXXXXX.dkr.ecr.us-east-1.amazonaws.com/mycluster:latest",
"Mappings": [ "containerPort": 5000, "hostPort": 5000, "tcp" ],
"essential": true ,
"requiresCompatibilities": [ "FARGATE" ],
"cpu": "512",
"memory": "1024"
]
} - We need to Create ECS service a Load Balancer to make the application publicly accessible.
- Create an Application Load Balancer with no backend target.(Targets will be added by the Pipeline).
- Now create The Service in the Cluster Section.

- In the Service Section, Choose the Load Balancer and Under Container to load balancer section Select the TaskDefinitionName:5000.
Our Basic Infrastructure is ready, Let’s Move ahead.
Github Action SetUp
Prerequisites
- Create A user and assign the required policy to this user. (AWS ECS FULL ACCESS).
- Create two Secrets and Store the Access Key And Secret Key in the GItHub Secrets.
- Create 1 API Token from Terraform Cloud and Store It in the GitHub Secrets.
Configuring GitHub Action Workflow for Terraform
- Step 1: Go to the Repository in the Github and click on Actions.
- Step 2: Click on setup this workflow yourself.
- Step 3: The Action will have Multiple Steps as described below -
name: 'Terraform'

on:
  push:
    branches:
    - master
  pull_request:

jobs:
  terraform:
    name: 'Terraform'
    runs-on: ubuntu-latest

    # Use the Bash shell regardless whether the GitHub Actions runner is ubuntu-latest, macos-latest, or windows-latest
    defaults:
      run:
        shell: bash

    # Checkout the repository to the GitHub Actions runner
    steps:
    - name: Checkout
      uses: actions/checkout@v2

    # Install the latest version of Terraform CLI and configure the Terraform CLI configuration file with a Terraform Cloud user API token
    - name: Setup Terraform
      uses: hashicorp/setup-terraform@v1
      with:
        cli_config_credentials_token: ${{ secrets.TF_API_TOKEN }}

    # Initialize a new or existing Terraform working directory by creating initial files, loading any remote state, downloading modules, etc.
    - name: Terraform Init
      run: terraform init

    # Checks that all Terraform configuration files adhere to a canonical format
    - name: Terraform Format
      run: terraform fmt -check
      continue-on-error: true

    # Generates an execution plan for Terraform
    - name: Terraform Plan
      run: terraform plan

    - name: Terraform Apply
      if: github.ref == 'refs/heads/master' && github.event_name == 'push'
      run: terraform apply -auto-approve
Configuring GitHub Action Workflow for AWS ECS
deploy:
    name: Deploy
    runs-on: ubuntu-latest
    needs: [terraform]
    steps:
    - name: Checkout
      uses: actions/checkout@v2

    - name: Configure AWS credentials
      uses: aws-actions/configure-aws-credentials@v1
      with:
        aws-access-key-id: ${{ secrets.AWS_ACCESS_KEY }}
        aws-secret-access-key: ${{ secrets.AWS_SECRET_KEY }}
        aws-region: us-east-1

    - name: Login to Amazon ECR
      id: login-ecr
      uses: aws-actions/amazon-ecr-login@v1

    - name: Build, tag, and push image to Amazon ECR
      id: build-image
      env:
        ECR_REGISTRY: ${{ steps.login-ecr.outputs.registry }}
        ECR_REPOSITORY: mycluster
        IMAGE_TAG: latest
      run: |
        # Build a docker container and
        # push it to ECR so that it can
        # be deployed to ECS.
        docker build -t $ECR_REGISTRY/$ECR_REPOSITORY:$IMAGE_TAG .
        docker push $ECR_REGISTRY/$ECR_REPOSITORY:$IMAGE_TAG
        echo "::set-output name=image::$ECR_REGISTRY/$ECR_REPOSITORY:$IMAGE_TAG"
    - name: Fill in the new image ID in the Amazon ECS task definition
      id: task-def
      uses: aws-actions/amazon-ecs-render-task-definition@v1
      with:
        task-definition: task-defination.json
        container-name: mycluster
        image: ${{ steps.build-image.outputs.image }}

    - name: Deploy Amazon ECS task definition
      uses: aws-actions/amazon-ecs-deploy-task-definition@v1
      with:
        task-definition: ${{ steps.task-def.outputs.task-definition }}
        service: service
        cluster: mycluster
        wait-for-service-stability: true
The Pipeline Will Work Like this

The GitHub Action we Built will create end-to-end CI/CD pipeline.
Subscribe to Developer Stack
Get the latest posts delivered right to your inbox